Showing posts with label Sweets. Show all posts

Tuesday, 19 July 2011

Black Forest Cake

Black forest cake is the most famous cake of all. It has many versions and following is my version of cake and also it is eggless recipe for black forest cake. Try it and you will love it.

Ingredients:
Chocolate cake (250gm plain flour, 100 gm butter, 400gm condense milk, 5gm baking soda, 2.5gm soda bicarbonate, 250ml of coke, 1 tea spoon of salt, 1 table spoon vanilla essence, 4 table spoon coca powder, 2 table spoon drinking chocolate. Mix all wet ingredients butter and condense milk together then all dry ingredients and later coke and vanilla mix well. Bake on preheat oven on 180degree for 15-20minutes until the knife comes out clean.)

Double cream: 350gm
Icing sugar: 100 gm
Vanilla essence: 1 table spoon
Brandy: 4 tbs (optional)
Powdered sugar: 4 table spoon
Cherries: 200gm
Cherries to decorate: 5-10
Dark chocolate bar to decorate

Preparation:
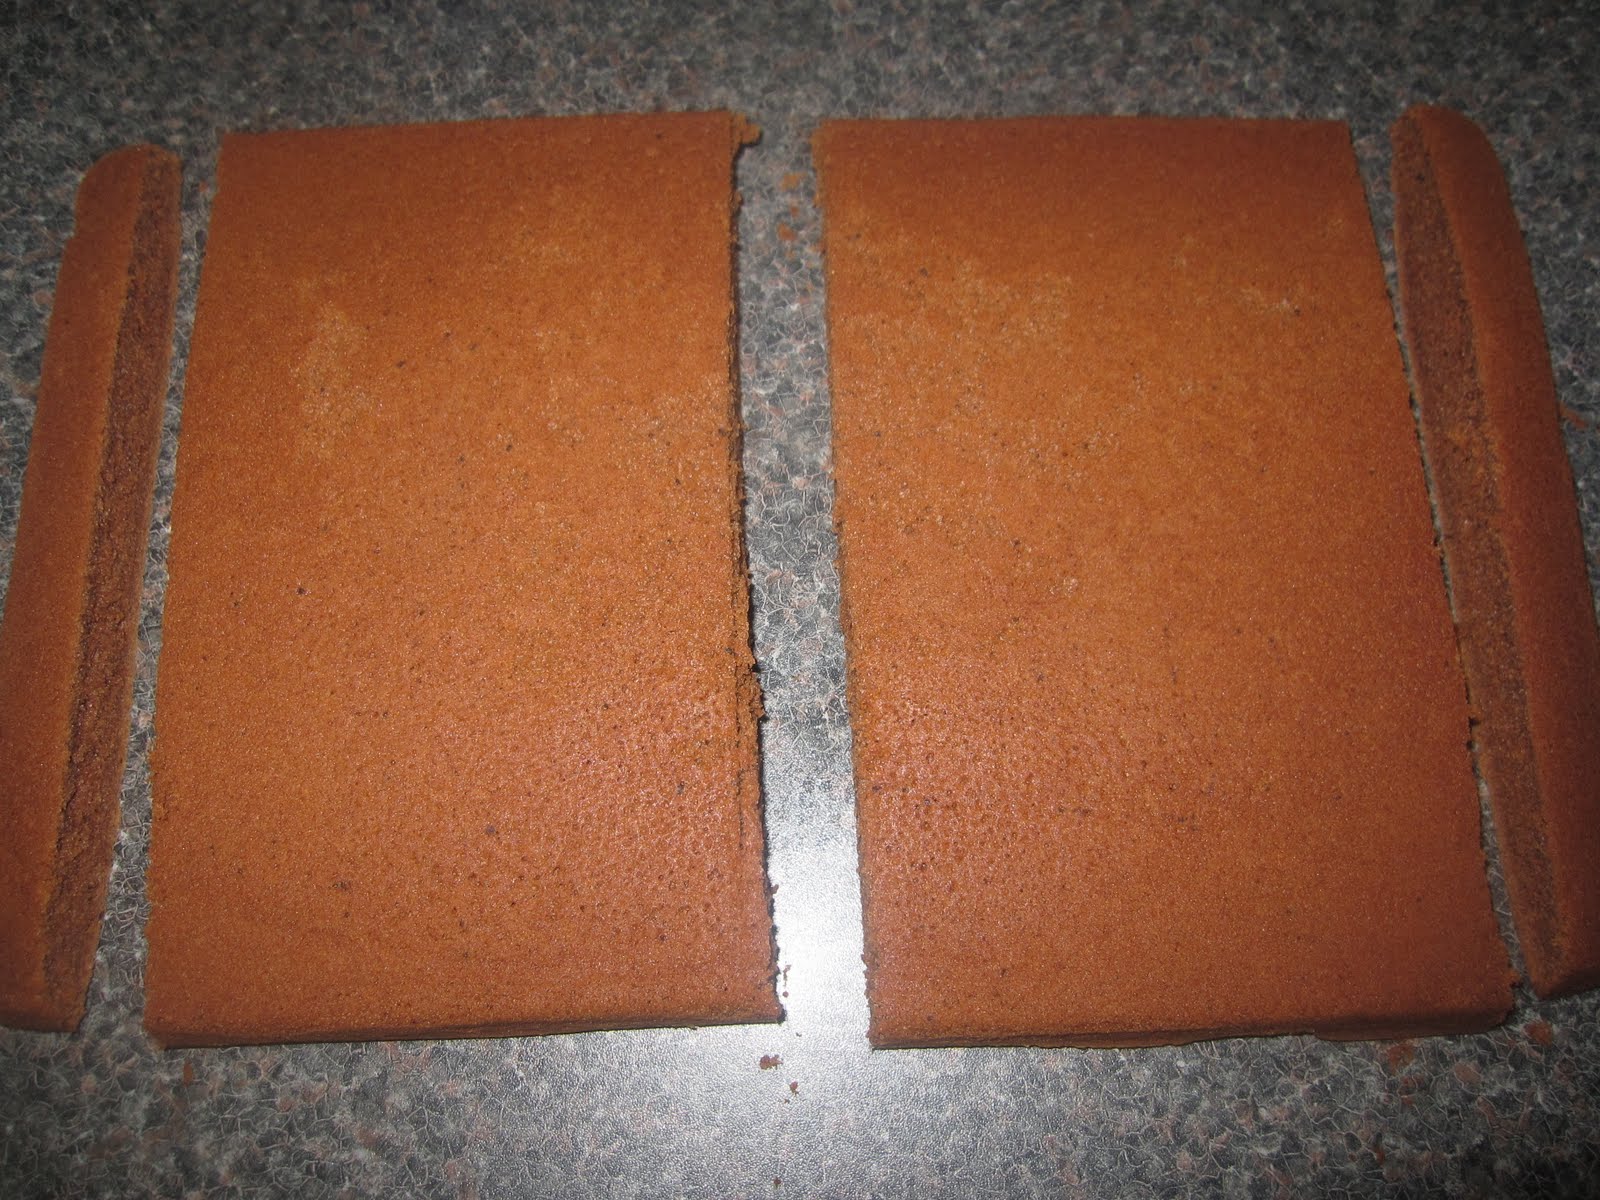
Bake the chocolate cake and let it cool down for minimum 3hours. Cut the cake into equal size piece for layering.
De-seed cherries and cut them into small pieces. Add powdered sugar and brandy. Let aside for 4 hours. This will leave some juice which we will be using on cake sponge.
After 4 hours of cooling cake and leaving cherry into sugar we will spread the juice coming out from the cherry onto the cake. Take a spoonful at a time and apply it over the cake. Leave for 2hours and again repeat the procedure of applying sugary cherry juice onto cake.
This will make the cake sponge very soft. Make sure you do not over apply the juice other wise the cake will become too soft and will break.

In a bowl add double cream, icing sugar and vanilla essence. Whip it until it become thick. Cover it with cling film and leave it in the freeze for minimum of 30minutes.

Once the cake is ready, apply one layer whipped cream and a thin layer of cherries and again whipped cream.
Place second layer of cake and apply whipped cream on the top as well as on the sides. Do a fine finish as this is the final layer.
Using a large knife surface, place the chocolate bar on the kitchen top run the knife from top to bottom and repeat until you get fine, thin and long flakes of chocolates. Take little and decorate it on the cake. Do it until all sides are covered and you are satisfied with the decoration.

Finally place cherries and leave it in the fridge until you are ready to serve.

Sunday, 24 October 2010

Amrakhand

Amrakhand/ keri no shrikhand is the next best thing to enjoy in summer. I prefer making amrakhand of alphonso mango.

Following is my recipe of amrakhand. I avoid adding anything extra to preserve mango taste. You can top it up with lots of nuts but I would suggest just enjoy as follows, you will love it.

The best home made amrakhand I enjoy of my Grand mother's hand. She has magic in her hands :).

Serves: 4
Ingredients:
Yogurt: 2 cups
Sugar: 1/4 to 1/2 cup as per your taste
Mango pulp: 1/2 cup
Mango whole: 1
Saffron: 10-15 threads
Thick cream: 3-4 table spoon (optional)

Preparation:
Take a thin cloth and add yogurt in it and set aside for 3-4 hours.
This will remove all the water from yogurt and make it more thick.
Soak saffron in 1 table spoon of hot milk for 5-10mins and crush it to get the flavour and color out of it.

Remove yogurt from the cloth and pour it into mixing bowl.

Add mango pulp, sugar and saffron, thick cream and blend the yogurt. Adjust sugar accordingly.
Finally top it with finelly chopped mango pieces and mix well.
Keep it refrigerated. This will stay for 2-3 days.

Serve with roti or puri. Or enjoy own it own.

Aam ras

Aam ras / keri no ras: made of Alphonso mangoes is most heavenly experience one can have during summer months.

Alphonso mango is known as king of fruits and is available in India during May till July.

Here is my version of mango ras recipe and I prefer to keep it thick and as little water as possible.

Ingredients:
Alphonso mangoes: 7
Rajapuri mango: 1 or payri mango: 3
Preparation:
Soak mangoes in cold water for 2-3 hours. Mango fruit is hot for body and this will allow cooling of the fruit and will be mild hot on our bodies.
Hold mango in one hand from top and bottom and from another hand press it slightly such that the pulp doesn't force out but mango surface turns from hard to soft.
Repeat this for all mangoes. Take two bowls and add 1 cup water in another bowl.

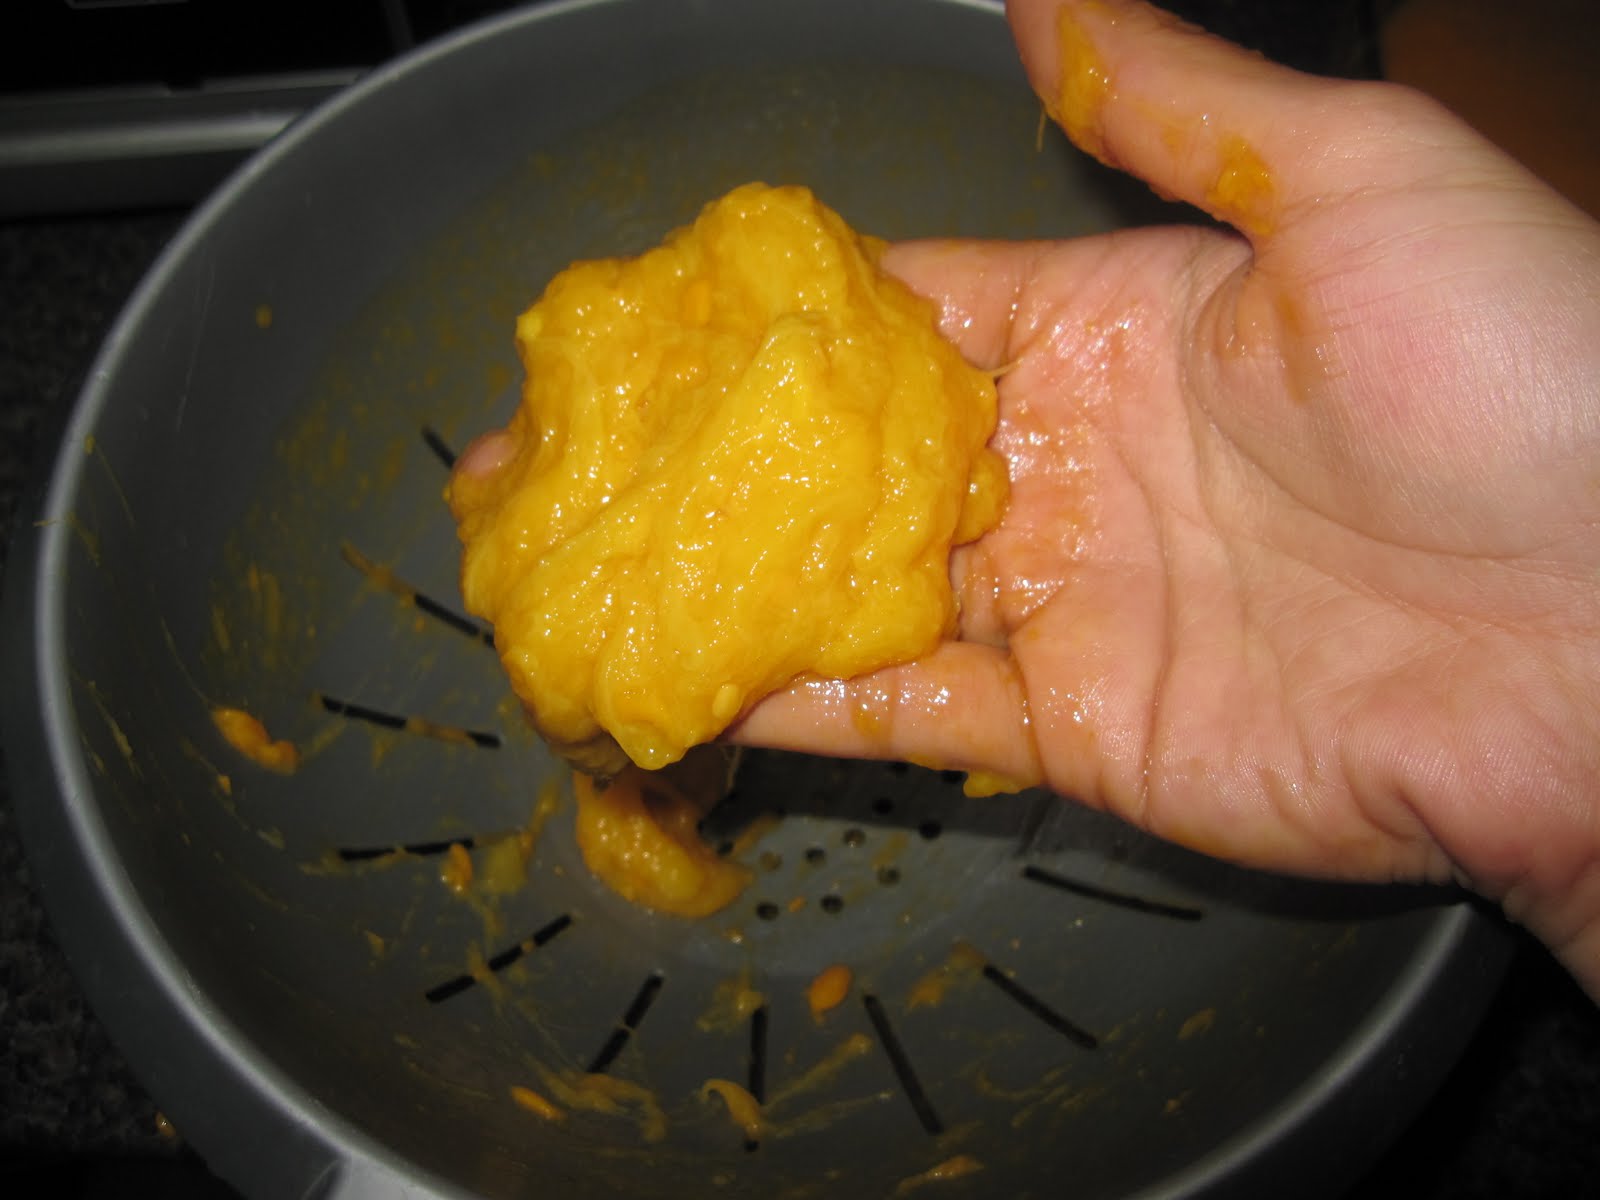
One by one squeeze the juice out in a bowl. Add skin and mango stone in the bowl with water.
Once you are done squeezing all the mangoes. Wash the skin and stones in the bowl with water and squeeze out all the remaining juice.
Water will turn thicker after washing all the skin and stones.

Mix water part and pulp part together and blend it into smooth paste.
Take a sieve with large whole and filter the mango pulp. This will help remove all the fibers from the mango pulp.
The aam ras consistency should be thicker.

Add one of the mango stone in the bottom of the bowl. This will help aam ras stay fresh and not turn black for 2-3 days.
To make it more interesting add finely chopped mango pieces in the aam ras
and mix well.
Keep this in refrigerator and serve cold with nice chapati and sabzi of your choice.

Coffee banana walnut cake

Ingredients:
Melted butter: 100gms
Condense milk tin: 400gm

Walnuts roughly chopped: 1/4 cup

Plain flour: 125gms
Whole wheat flour: 125gms
Baking soda: 1tea spoon/5ml
Soda bi-carbonate: 1/2 tea spoon/ 2.5ml

Vanilla essence: 1 table spoon
Milk: 175ml
Coffee 1/2table spoon melted in hot water 25ml
Sugar: 3 table spoon
Banana: 2 fully ripe

Extra butter and flour to grease oven tray.

Preparation:
Pre-heat oven at 180 degree C for 15minutes.

Measure all ingredients and keep dry and wet separate.

Warm milk, add melted coffee water, sugar and banana. Using hand blender, blend it until banana is liquidized.

In a mixing bowl take condense milk and melted butter (room temperature) and whip well.

Finally add chopped walnuts and mix well.

Pour it over greased and floured baking oven tray, cake mould or muffin mould.

Heat for 10mins on 180 degree and 20 - 25mins on 160degree.

Let it cool off for 2-3hours and enjoy.
Now add flours and whip well. Add both sodas and mix well. Add vanilla essence.

Slowly add milk mixture and keep whipping until you get smooth batter.

Saturday, 25 September 2010

Coffee Chocolate Cake

Who ever knows me, knows that cakes are my weakness :). I enjoy home made cakes without much icing and decoration.

I mixed few recipes and came up with following amazing recipe of Coffee Chocolate Cake. This one is eggless recipe so for those who do not eat eggs will definitely love it. Try it and let me know how was it.

My cake turned out moist, soft and irresistible :). I preferred to add as less plain flour as possible and I added whole wheat flour, yet the result was super tasty. So go for whole meal.

Ingredients:

Condense milk:400gm / 1 tin
Melted Butter: 100gm

Plain flour:125gm
Whole wheat flour:125gm
Drinking chocolate powder: 5 table spoon
Coco powder: 1 table spoon

Baking powder: 5ml/1 tea spoon
Soda bi carbonate: 2.5ml, 1/2 tea spoon
Salt: 1/4 tea spoon

Coffee powder:1/2 tea spoon
Boiling water: 25ml
Warm milk: 175ml
Sugar: 1 table spoon

Vanilla essence: 1 table spoon

Cashew nuts: roughly chopped 1/2 cup

Baking tray:

Preparation:
Before mixing any ingredients, prepare following so mixing will be quicker and preheat over on 180 degree c for 15 minutes and adjust the oven tray in middle.

Melt the butter just to room temperature.

Open the condense milk tin.

Mix both flour and chocolate powders and sieve once or twice.

Dissolve coffee in water add milk and sugar and let sugar melt in it.

Grease baking tray and dust it with flour. Remove excess flour.

In a large mixing bowl add butter and condense milk. With a whisk mix it well.
Mix until butter is fully blended in condense milk.

Slowly add flour and chocolate powder and with spoon give it a good stir.

Add salt, baking powder, soda bi carbonate and mix with spoon.

Add vanilla essence.

Add coffee and milk solution to the batter. Slowly whip it and allow the batter to get smooth.
Do not over whip. Just enough until the lumps are gone. Mix cashew nuts and give it a final stir.

Pour mixture onto baking tray and spread it evenly. Tap the tray gently from the bottom to level the mixture.

Place the baking tray in middle of pre-heated oven.

Baking time: 10minutes on 180, there after 160 until its cooked. For my size of tray it took 20minutes on 160. In total 30minutes.
After 30minutes check the cake by inserting toothpick and it should come out clean.

Allow cake to cool off for at least one hour. Cut them into pieces and enjoy :).
You can store it for upto 7days.

Monday, 13 September 2010

Rava no shiro

Since childhood I was big fan of prashad from Satyanarayan pooja. Being a Jain by religion never had chance to make the same until after I got married. One fine day I decided to keep Satyanarayan pooja and then I got the chance to learn this lovely yet simple dish.

If you get the measurements right and cook it with lots of passion, shira will turn into holy prashad which is as good as to become offerings of the Gods.

Serves 6
Ingredients:
Medium semolina: 1 cup
Sugar: 2/3 cup (take 1 cup if you have sweet tooth, I prefer my sweets less sweet)
Milk: 2 cups (i know some people add water, but go with full amount of milk, will enhance the flavour)
Ghee / clarified butter: 2/3 cup
Almonds + Cashew nuts: handful (rough chopped)
Cardamom powder: 1/4 table spoon
Fully ripe banana: 2/3 cup

Preparation:
Rough chop cashew nuts and almonds. Peel banana and cut it into half now slice it up so that pieces are 5cm thick.

Mix sugar with milk and keep it on low heat and allow it to boil in the mean time do the following and turn the milk's heat off as soon as it starts to boil.

Take thick bottom pan, add ghee and let it melt and get hot. Add chopped nuts and turn the flame on low-medium and let it roast until it starts to change the colour.
Add semolina.
Roast it on low flame until it turns pinkish brown. It will take about 10 minutes.
Milk should be ready now and make sure sugar is melted in the milk. Slowly add milk to semolina and keep stirring. Take care of hot fumes when you add milk into the pan.
Let semolina get cooked in the milk and milk starts to evaporate. Add banana after 1minute.
Mix well. Stir on low flame until semolina has soaked all milk. If you think semolina is still dry, you can choose to add little bit more warm milk. Make sure you adjust the sugar accordingly.

Stir for couple of more minutes and semolina and milk mixture has now turned into beautiful shira.

Turn the heat off and add cardamom powder. If you are severing as prashad, add some tulsi leaves. Finally serve in small bowls and enjoy.

Wednesday, 31 March 2010

Basundi

Basundi is traditional Indian dessert. Usually served with Puri. Basundi is modernised to lots of different flavours like custard apple basundi (seetafal basundi), strawberry basundi etc. These is basic recipe of basundi.

Best served with puri. Little bit thicker and its called Rabdi.

Ingredients:
Milk: 1.5 liter
Cinnamon stick: 1 to 2 inch
Whole cardamon: 2-3
Cardamon powder: 1 tea spoon
Almonds thin slices: 1 table spoon
Pistachio slices: 1/2 table spoon (optional)
Saffron: 20 strands
Sugar to taste

Preparation:
I make basundi in microwave. It is easy and do not require to monitor or stir the milk.

The way I do it is I take large glass bowl and add milk. Make sure bowl is only half filled with the milk.

I keep milk in microwave for 5 to 7 minutes and take it out for 2 minutes. This will allow milk to cool off and will not come out of bowl at any time.

I repeat this until milk is reduced to half its size.

[Tip: You can do this on gas but make sure you have non stick thick pan and you keep stirring milk to avoid sticking at the bottom.]

Add milk in large bowl, add cinnamon stick and cardamon pods. We are going to take this out before serving. So make sure you take them out before adding any other spices or nuts later on.

Repeat the process of heating milk in microwave for 20 minutes. You will notice milk has reduced to 1/3.

In the mean time take 1 large spoon of warm milk and add saffron. Crush it using spoon to let the saffron color come out.

Take out Cinnamon and cardamon pods. Add saffron and almonds after 20 minutes. Also add almonds. Add sugar and cook further in microwave for 10 more minutes.
By this milk should reduce to half its size. If you want more thick basundi allow it to cook for longer time.

When the cooking process is over, add cardamon powder and mix well. Let basundi cool down for 1-2hours. Thick layer of cream (malai) will be formed on the surface.
Basundi is always eaten cold. You can prepare in advance and keep it in freeze over night.
Enjoy with puri or just after meal.

Wednesday, 10 March 2010

Srikhand with surprise

Eating normal sweets are not fun any more. I tried this recipe when it was our 4th marriage anniversary. I wanted to take minimum effort but try something different. It turned out to be great. Plus my husband didn't know whats under srikhand. When he found rasgulla in the dish he was total surprised.

Serves 2
Ingredients:
Srikhand: 1 cup
Rasgulla: 4
Nuts for garnish

Preparation:
Take rasgulla in serving bowl

Cover it with srikhand so rasgulla is not visible. Garnish with nuts.
[Note: for best results, take Mango srikhand or make one at home with lots of kesar/ saffron]
Serve chilled.

Friday, 15 January 2010

Fig and dates peth

Peth is traditional Gujarati Jain recipe. This sweet is made after fasting days. It believe to boost up energy.

This is not the traditional peth recipe I am writing. I have added few more extra bits and reduce the amount of Ghee to make it frequently edible during winter days.

Ingredients:
Dried figs: 6-7
Seedless date (red or black): 10-12
Dried coconut whole: little bit less than 1/4
Almonds: 15-20

Walnuts: 10-12 (optional)
Poppy seeds/ khus khus: 2 tea spoon
Edible gum/ goonder: 2 heaped table spoon
Ghee/ clarified butter: 2 heaped tea spoon (take more if you want more rich)
Milk: 2-3 cups

Preparation:
Cut fig and dates into small pieces. Using vegetable peeler make slices of dried coconut and cut them into small pieces. Slice up almonds. Cut walnuts into small pieces.
Heat the pan and add ghee in it.
Once the ghee is melted add edible gum and within no time gum will puff up.
When all gums are puffed add milk. Add 2-3 cups.
Note: Milk will be burnt to make mawa so the process will take longer time if you add more milk but peth will taste better more milk you add.

Add figs and dates along with and cook it on medium high heat. Keep stirring during entire process.

After 5 minutes you will notice milk is starting to get thick and become creamy.


Note: take care when milk is almost gone, that time splashed will fly so stay far from the pan and stir.

Add almonds, walnuts, coconut, poppy seeds and keep stirring.
When milk is almost gone add 1 table spoon of ginger powder.
Peth is ready when you notice ghee starts to come out.
Note: Taste it and add extra sugar if you want. If you avoid it is best.

Let the peth cool down for 1-2 hours and store it in a container. When you want to eat take a spoonful and enjoy. Do no eat more than 3-4 spoon a day. Or if you want you can make small ladoos out of it and store it like that.

Store it in cool dry place for about 8-10 days.